Knowing how to properly solder is not only necessary for radio amateurs and specialists in assembling electrical equipment. Every home handyman has to face the need for soldering when repairing electrical household appliances.
Contents .
Preparing the soldering iron for use
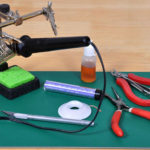
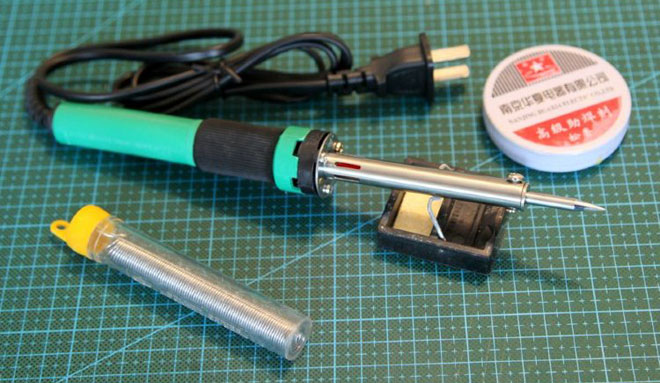
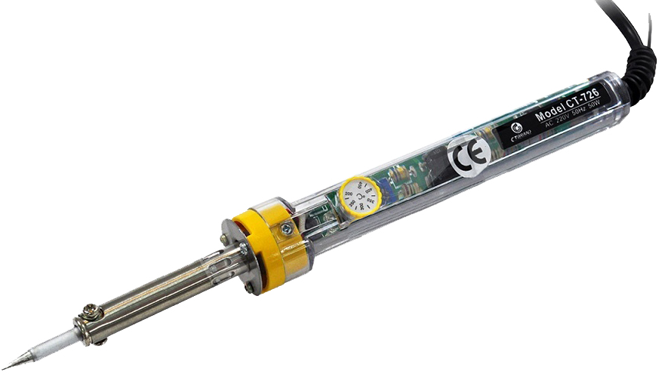
Before you solder your soldering iron, you should properly prepare it for work. In everyday life, most often an electric soldering iron with a copper tip is used, which during storage and use is gradually covered with a layer of oxide and is subjected to mechanical damage. To get a good quality solder joint, prepare the soldering iron for work in this sequence:
- File with a fine notch grind the working part of the tip to a length of 1 cm from the edge. After scraping, the tool should acquire a reddish color peculiar to copper, and a metallic luster. During deburring, the tip is given a wedge-shaped, beveled, cone-shaped shape to solder what the craftsman needs.
- The soldering iron is plugged in and heated to operating temperature.
- The tip should be tinned, covered with a thin layer of tin - the same solder as the solder conductors to be joined. To do this, the tip of the tool is dipped in rosin and then run a piece of solder over it. Do not use a solder rod with rosin inside to tin the soldering iron. To evenly distribute the solder, rub the working edges against a metal surface.
The half-solder will burn and wear off as you work, so the soldering iron will have to be cleaned and tinned several times during the soldering process. You can clean the sting with a piece of emery cloth.
If you will use a tool with a nickel-plated unburned rod, you will have to clean it with a special sponge or a damp cloth. Tin such a sting in the molten rosin, spending a piece of solder on it.
Soldering can be learned only in the process, but before this it is desirable to become familiar with the basic operations.
Fluxing or tinning
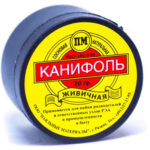
The traditional and most available flux is rosin. If you want, you can solder with a solid or its alcohol solution (SCF, rosin gel, etc.) as well as TAGS flux.
The legs of radio components or chips are coated with half-coat at the factory. But to get rid of oxides, you can re-solder them before assembly by greasing them with liquid flux and covering them with an even layer of molten solder.
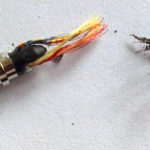
Copper wire is ground with a fine emery cloth before fluxing or tinning. This removes the oxide layer or enamel insulation. Liquid flux is applied with a brush, then the soldering point is heated with a soldering iron and covered with a thin layer of tin. The tinning in solid rosin is done as follows:
- melt a piece of the substance on a stand and heat the conductor in it;
- feed a rod of solder and distribute the molten metal evenly over the wire.
Properly solder massive copper, bronze or steel parts should be done using active fluxes that contain acids (F-34A, Glycerin-hydrazine, etc.). They will help to create an even layer of half-solder and firmly join the parts of large objects. Tin is applied to large surfaces with a soldering iron, spreading the solder evenly over them. After working with active flux, neutralize the acid residue with an alkaline solution (such as baking soda).
Heating up and temperature selection
It is difficult for beginners to know how hot a tool is to start with. The degree of heat should be based on the type of material:
- soldering of microcircuits requires heating to no more than +250°C, otherwise the parts may be damaged;
- large individual radio components can withstand heat up to +300°C;
- tinning and bonding of copper wires can be done at +400°C or a little lower;
- massive parts can be heated at maximum soldering iron power (about +400°C).
Many models of tools have a temperature controller, and it is easy to determine the degree of heating. But if there is no sensor, you should keep in mind that a household soldering iron can be heated to +350 ... +400 ° C maximum. You can start working with the tool if the rosin and solder melt within 1-2 seconds. Most PIC solders have a melting point of about +250°C.
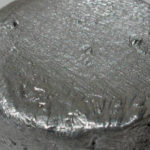
Even a skilled craftsman will not be able to properly solder with a soldering iron that is not hot enough. If the heat is low, the solder structure becomes spongy or granular after solidification. The solder is not strong enough and does not ensure good contact of the parts, and such work is considered a reject.
Solder Handling.
When sufficiently heated, the molten solder should become pourable. For small jobs, you can take a drop of alloy on the tool tip and transfer it to the parts to be joined. But it is more convenient to use thin wire (rod) of different cross section. Often there is a layer of rosin inside the wire that helps you solder properly with a soldering iron without distracting from the process.
This method warms the surface of the conductors or parts to be joined with the hot tool. The end of the solder rod is brought to the sting and slightly (1-3 mm) pushed under it. The metal melts instantly, after which the rest of the rod is removed, and the solder is heated with the soldering iron until it acquires a bright sheen.
When working with radio components, you need to keep in mind that the heat is dangerous for them. All operations are performed for 1-2 seconds.
When soldering connections of single-core wires with a large cross section, you can use a thick rod. With sufficient heat of the tool, it also melts quickly, but distribute it on the soldered surfaces can be slower, trying to fill all the notches of the twist.
Related articles:
