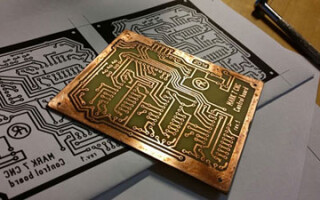
In today's world, printed circuit boards are used in the manufacture of electronic circuits. Among them, for example, assembly units of electronic equipment. A plate of many layers with new electronic elements has the property of integration. This feature makes it possible to reduce the size of electrical circuits and techniques for computing. The first printed circuit board appeared over a hundred years ago.
Contents
- 1 What is a printed circuit board
- 2 Making an Electronic Circuit Board at Home
- 2.1 What material will be used for the manufacture
- 2.2 The main requirements for the boards
- 2.3 Necessary tools and chemicals
- 2.4 Print out a drawing of the circuit board on a printer
- 2.5 Preparing a solution for chemical conversion
- 2.6 Preparing Glass-Proof Plate
- 2.7 Translate drawing
- 2.8 Etching the board
- 2.9 Drilling holes
- 2.10 Burnishing board
- 3 Recipes for etching solutions
What is a Printed Circuit Board
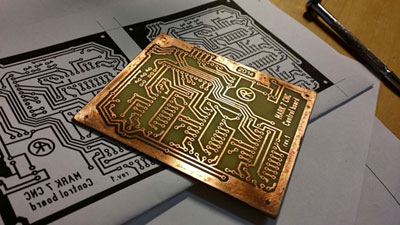
A printed circuit board is a dielectric plate. On the surface of the product is a circuit board. A dielectric plate is needed to connect the electronic components. The component leads of the board are soldered to the parts of the conductive pattern.
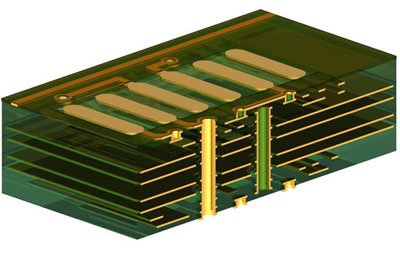
The circuit diagram is made of foil on a solid insulating surface. To mount planar and lead elements, special holes and pads are made in the printed circuit board. The foil in the board is located on several layers, so the electrical connection to it is provided by transition holes. The outer surface of the board is covered with a protective layer (solder mask) and markings (additional graphics and text according to design documents).
Classification of printed circuit boards according to the number of foil layers:
- single-sided;
- double-sided;
- multilayer (connection of several plates with one or two layers).
IMPORTANT! The number of layers is increased depending on the complexity of the project installation.
Making an electronic circuit board at home
What material will be used for manufacturing
Dielectric foil bases are used for printed circuit boards. The material consists of multi-layer plates with electrical insulation or synthetic fluoroplastic or polyimide films. On top of the insulation or film is a copper, aluminum or nickel foil.
- Aluminum foil does not solder well.
- Nickel foil has higher resistance and low heat dissipation. In addition, its cost is more expensive.
- Copper foil lends itself well to soldering. Thickness is 18 to 35 microns.
Many materials for the manufacture of boards are available for sale. To make a plate with your own hands you can use fiberglass or gethinax:
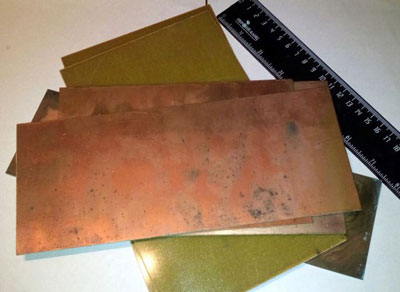
- Glass-textolite - compressed material, which is based on glass fabric. The composite material is impregnated with epoxy resin and lined with copper foil. Glass fiberglass has high thermal conductivity, strength and electrical insulation. The weight of the material will not make the assembled device heavier. The material is easy to machine. Application temperature ranges from minus 60 to plus 125 degrees Celsius. The permissible thickness is 1.5 millimeters. At home, it is desirable to use 0.8 millimeters with a coating of one layer.
- Gethinax is paper impregnated with bakelite varnish. Layers of the material are obtained after pressing the paper by hot pressing. Gethinax is impregnated with epoxy resin. Application temperature ranges from minus 65 to plus 120 degrees Celsius. The choice of Gethinax variety depends on further use.
Basic requirements for the fabricated boards
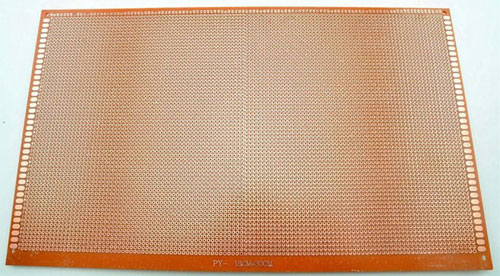
- Rectangular shape with double-sided coating.
- Thickness - no more than three millimeters (must match the dielectric base).
- The contours of the notches and grooves are located along the plate perimeter and do not coincide with the grid lines.
- The centers of all holes are located in the nodes of the grid.
- The space between the edges of the hole and the plate should not exceed the thickness of the latter.
- The size of the contact pad determines the diameter of the hole.
- The thickness of the tracks and the spaces between them is about 0.2 millimeters.
The tools and chemistry needed
- fiberglass or gethinax;
- dishwashing scraper;
- dishwashing detergent;
- acetone;
- acetone-free nail polish remover;
- industrial or medical alcohol;
- an old toothbrush;
- soft two-ply toilet paper;
- two-cup syringe;
- photo paper;
- laser black-and-white printer with a resolution of more than 600 dpi and a cartridge for it;
- sewing scissors;
- drill bits 0.6 millimeter, 0.8 millimeter, and 1 millimeter in diameter;
- marker for drawing circuit boards;
- mini drill;
- hydropyrite;
- citric acid;
- rock salt (not iodized);
- plastic container for etching;
- plastic card;
- weight of 3 kilograms;
- alcohol-canister flux;
- soldering station.
Printing the board picture on the printer
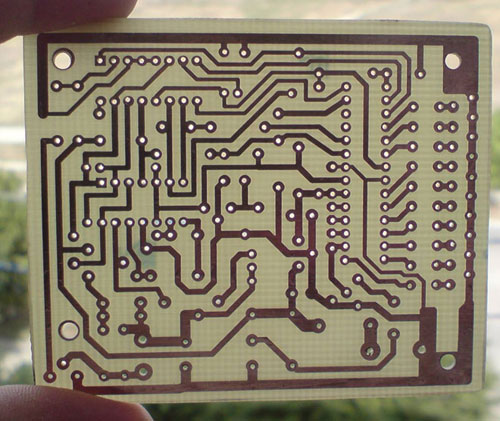
- For maximum line width in the drawing you should turn off the power saving mode in the printer properties. You may have to use another printing mode to get a good result. The graphic image of the board must not be blurred or scuffed.
- Select the maximum resolution and black and white mode in the print settings (in case the printer is color).
- The scale must be realistic.
- After printing is complete, the image with graphic elements should not be touched by hand. It is better to leave a border on the sheet before cutting out the picture. An extra area of two centimeters is enough to hold the paper with your fingers without touching the scheme.
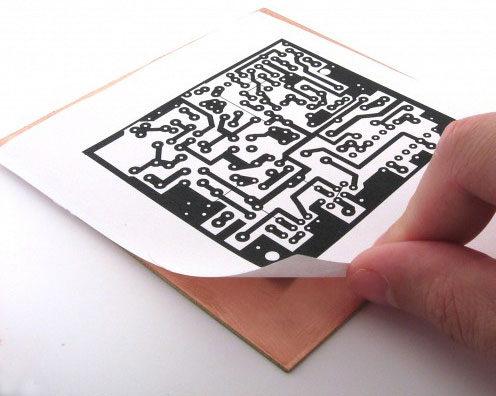
IMPORTANT! You should leave three millimeters from the border when cutting out so you can see the edges when transferring.
Preparing the solution for chemical transfer
To make a chemical solution, you will need:
- liquid without acetone and acetone itself in the proportion 2:1;
- syringe;
- A glass container with a rubber lid.
Both liquids are measured with a syringe, mixed and poured into a tightly closed container. If stored long enough, acetone can volatilize and the substance will deteriorate.
Making fiberglass.
- The fiberglass will require a wide flat surface, in the center of which a sheet of toilet paper is placed.
- Next comes the preparation of the material. Glass fiberglass is rubbed with a metal sponge in a circle to remove oxidation, scratches and fingerprints. The plate should shine.
- Drip detergent into the center of the plate and lather it up. In addition, the soapy solution is applied to your hands.
- The plate is washed for several minutes and rinsed with cold water. The plate should be held on its sides by the edges.
- After washing, the board is placed on paper. On top apply a couple of drops of acetone solution and clean with toilet paper until completely dry.
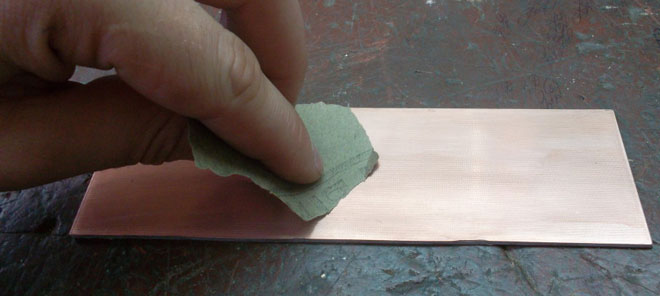
IMPORTANT! No small lint, dust or hair should get on the surface of the board. The room should be cleaned before the procedure.
Transferring the pattern
- Two milliliters of solution are poured into a syringe.
- The board is placed on the paper. There should be a surface of copper foil on top.
- A thin layer of liquid is applied to the copper surface, without gaps.
- The drawing of the circuit is placed evenly on the plate with the seal downward. Moving the paper is not allowed.
- Use a plastic card to blot the paper and squeeze out the excess solution.
- After ten seconds, two pieces of paper are placed on top, after another ten seconds, a smooth press (3 kilograms) is placed on the plate and pressed for five seconds.
- After five minutes, the weight is removed. The paper with the drawing should dry (become white).
- To remove the paper, a toothbrush is soaked in alcohol and the surface is wet. After it has become oily, the paper is folded back from one edge and alcohol is poured under it with the brush. The drawing area should be completely covered with the volatile liquid.
- The sheet is pulled back evenly so that the paint remains on the plate. Periodically, the alcohol should be refilled.
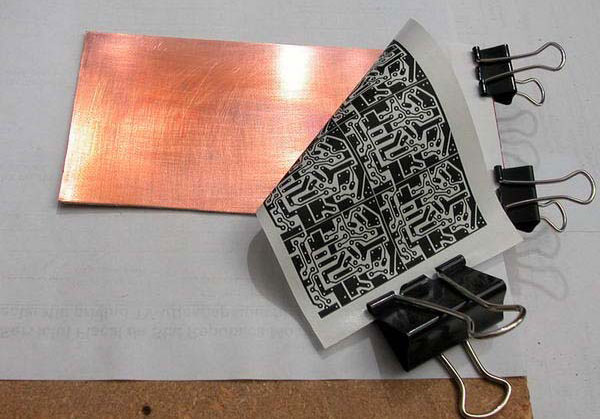
IMPORTANT! If small areas of toner remain on the paper, you can use a marker and dot the gaps. It is desirable to paint in two layers to get a black lacquer effect. Before drawing it on the board you should measure the geometry of the drawing with a ruler.
Etching the board
- To prepare the solution, pour 50 milliliters of warm water into a container.
- Three tablets of hydroperitis are added to the water, until completely dissolved. As a result, hydrogen peroxide (3 percent) comes out.
- 15 grams of citric acid and 5 grams of salt are added to the liquid until it is completely dissolved.
- Pour the solution into a plastic container, dip the board down for half an hour (sometimes forty minutes).
- The board is washed with warm water and wiped with acetone. The top is covered with alcohol-tocaniphon flux.
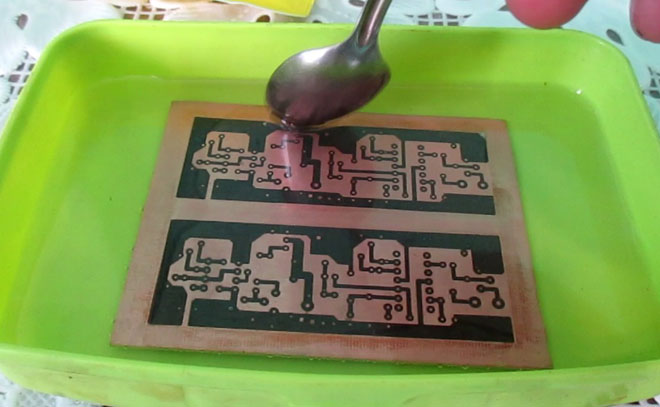
Drilling Holes
Holes are drilled where the track exits. Second holes are drilled when soldering transition holes. Transitions are added around the edges of the plate for greater rigidity. A mini drill is needed because small drill bits are used.
Burnishing a Board
Deburring a board protects the copper plating from corrosion. A soldering station is needed for this process. The braided braiding is put on the tip of the soldering iron and tinned with a wire to get a good tinning job.
The plate and braid are coated with flux. Then tin is applied to the board. In the process, the copper lint from the braid is removed.
Recipes for etching solutions
An etching solution of hydrogen peroxide and citric acid
Ingredients:
- Hydrogen peroxide (3%);
- citric acid;
- table salt;
- warm water (100 ml).
An etching solution of 100 milliliters is enough to remove copper foil (35 µm thickness) from a plate area of 100 centimeters square. The prepared solution should not be stored. Instead of citric acid, you can use acetic acid, but you will have to dry the board outdoors because of the unpleasant smell.
The advantages of the solution are cheapness, easy availability of ingredients, high speed, safety. Etching can be done at room temperature.
Etching solution based on ferric chloride
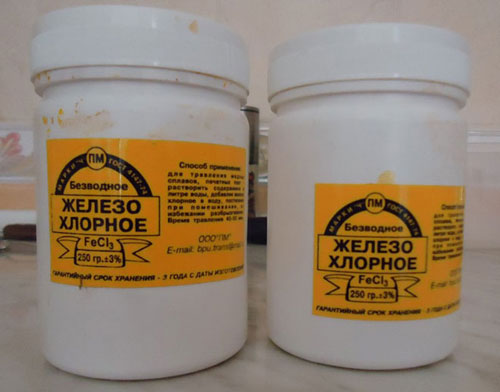
Chlorine iron based solution is not demanding in terms of temperature. The etching time is fast. However, the rate decreases as the chlorine iron in the liquid is consumed.
The preparation will require: 200 milliliters of water and 150 grams of chlorine iron in powdered form. The components are stirred until completely dissolved.
IMPORTANT! Etching solution can be stored in a tightly closed container and used repeatedly. For repeated use, it is "enlivened" with copper nails. The disadvantage of the solution is its high cost.
Etching solution based on hydrogen peroxide and hydrochloric acid
The etching solution is very fast and affordable. Hydropyrite or hydrogen peroxide can be purchased at a drugstore.
For preparation, a hydrogen peroxide solution (3 percent) is poured into hydrochloric acid (stirring it) in a thin stream. Safety precautions should be observed during the etching procedure, as hydrochloric acid corrodes your hands and spoils other objects. For this reason, the solution is not recommended for home use.
IMPORTANT! Instead of hydrochloric acid, you can use battery electrolyte to which salt is added.
Copper sulfate pickling solution
A copper sulfate-based pickling solution is rarely used because the procedure is complicated. In addition, copper sulfate is a pesticide that is used in agriculture to kill pests. The component is sold in retail outlets for gardeners and vegetable growers.
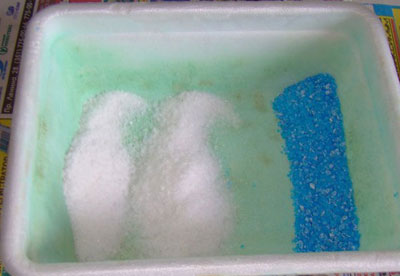
Method of preparation: copper sulfate (⅓ part) is mixed with table salt (⅔ part). Pour 1.5 cups of hot water into the mixture so that the salt dissolves.
The pickling procedure with copper sulfate takes about four hours. The required temperature is 50 to 80 degrees Celsius. The solution must be constantly changed during the etching process.
The method of making a printed circuit board at home is useful for beginners in the field of electronics. Before professional work, it is possible to acquire the necessary skills at home. The number of methods is varied, which will affect the success of the conceived.
Related articles:
